.png)

Underfloor Heating Tile Advice for Lasting Floors
- gheorghesircu

- 1 day ago
- 5 min read
A tiled floor over underfloor heating should feel comfortably warm, look level and remain free from cracks. That result depends far more on preparation and compatible materials than on the tiles alone. This underfloor heating tile advice covers the decisions that need to be made before installation starts, particularly in bathrooms, kitchens, hallways and open-plan living areas.
Start with the right heating system and floor build-up
Electric underfloor heating is often practical for a single bathroom, ensuite or refurbishment where the heated area is limited. It is relatively quick to fit and works well beneath tiles, but running costs depend on the room size, insulation and electricity tariff. Water-based heating is usually better suited to larger areas, extensions and whole-property projects. It requires more planning, pipework and floor depth, but can be economical when connected to an efficient heating system.
Before choosing either system, check the available floor height. The finished level may need to accommodate insulation boards, heating mat or cable, levelling compound, adhesive and tile. This can affect door clearances, skirting, thresholds and the transition into neighbouring rooms. In a bathroom, it can also affect falls towards a shower drain.
Do not treat insulation as optional. Without it, a noticeable amount of heat is lost into the subfloor rather than directed into the room. Insulation boards also provide a stable base for the heating installation and help the floor warm up more efficiently. The right thickness depends on the existing construction and the height available, so this should be assessed before tiles are ordered.
Underfloor heating tile advice: choose a suitable finish
Porcelain and ceramic are the usual choices for heated tiled floors. Both conduct heat effectively, cope well with temperature change and are available in finishes suited to bathrooms, kitchens and living spaces. Porcelain is denser and less absorbent, making it particularly useful in wet rooms, entrance areas and busy family homes.
Natural stone can also work well, but it needs more consideration. Stone varies in density, thickness and porosity, so the adhesive, grout and sealing requirements must suit the specific material. A thick stone floor can hold heat for longer, but it may also take longer to warm up. This is not necessarily a problem, provided the heating is controlled sensibly rather than expected to react instantly.
Tile size is mostly a design choice, but it affects installation. Large-format tiles give a clean, modern appearance and fewer grout joints, yet they demand a very flat substrate. Small mosaics are useful on shower floors and curved details, although more grout joints mean more cleaning. For bathrooms, choose a tile with an appropriate slip resistance, especially where floors may be wet.
Avoid installing vinyl, carpet or thick rugs over a tiled heated floor unless the heating manufacturer confirms it is suitable. A large rug can trap heat and reduce the benefit of the system. Fixed kitchen units, fitted furniture and appliances should be planned around as well. Heating should generally serve the open floor area, not spaces where heat cannot escape.
The subfloor decides whether the finish lasts
Tiles do not hide movement, moisture or unevenness in a floor. They tend to reveal it later as cracked grout, loose tiles or fractures across the surface. A sound subfloor is therefore the first part of a successful tiled heated floor.
Concrete or sand-and-cement screeds must be sufficiently cured and dry before heating components, adhesive and tiles are fitted. New screed can look dry on the surface while holding excessive moisture below. Moisture testing is the proper way to assess readiness, particularly on larger projects or where a sensitive floor finish is involved.
Timber floors need a different approach. Floorboards may flex, and that movement can transfer through the tile layer. Loose boards must be secured, and the floor may require a suitable tile backer board or approved overlay system to create a stable base. Simply laying tiles directly onto a moving timber floor is a common route to failure.
An uneven base should be corrected before tiling. Heating cables should not be used to fill low spots, and adhesive should not be relied upon to compensate for a badly uneven floor. A suitable smoothing or levelling compound creates a more consistent surface, protects the cable or mat and allows the tile adhesive to be applied at the correct depth.
Use flexible materials designed for heated floors
Underfloor heating causes gradual expansion and contraction. The changes are small, but they are repeated over many heating cycles. Standard rigid adhesive and grout may not tolerate that movement well enough.
Use a cement-based flexible tile adhesive rated for underfloor heating, selected for the tile type and substrate. For many installations, an S1 flexible adhesive is appropriate, though larger tiles, difficult substrates or particular heating systems may call for a different specification. The adhesive manufacturer and heating system instructions should always be followed together, not treated as separate guides.
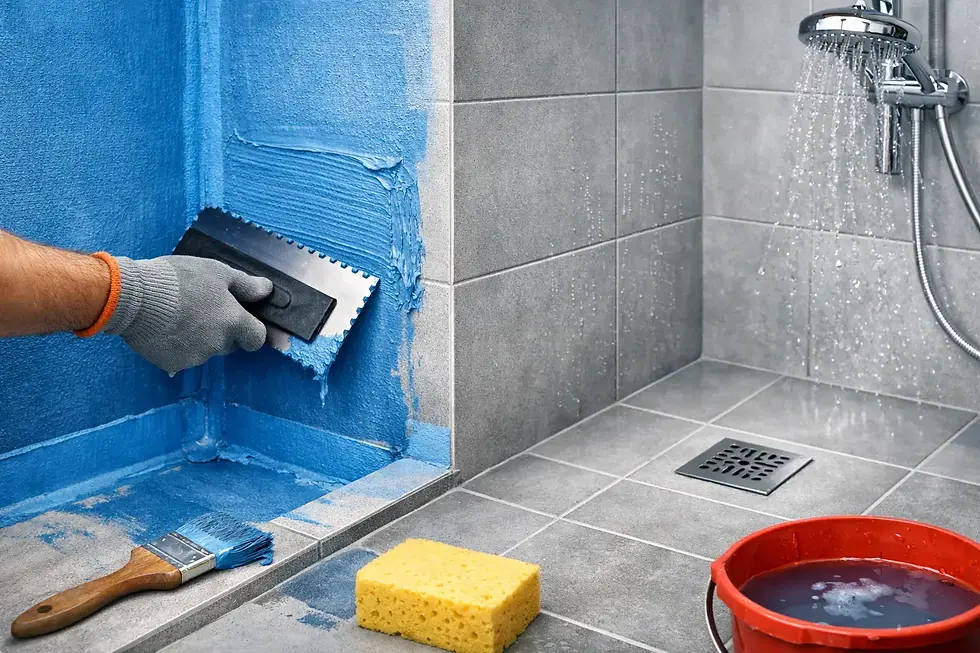
Flexible grout is equally important. It should suit the joint width, tile finish and room conditions. In a shower room or wet room, the waterproofing system, tile adhesive, grout and sealant should be compatible. Grout is not a waterproof layer. Areas exposed to regular water need correct tanking behind the tiles before the final finish is installed.
Perimeter movement joints must be retained rather than filled solid with grout. Larger rooms, doorways and changes in substrate may require additional movement joints. These details are easy to overlook because they are not decorative, but they allow the tiled surface to move safely as temperatures change.
Plan the layout before fixing the heating mat
A good tile layout and a good heating layout need to work together. Establish the tile setting-out lines first, including the position of cuts, thresholds, shower screens and furniture. Then mark the clear heated area. This avoids placing heating cables beneath permanent fixtures or discovering too late that the thermostat cable is in an awkward position.
The floor sensor should sit within its protective conduit and be positioned where it can read the floor temperature accurately. It should not be too close to a heating cable, external wall or direct heat source. A second sensor is a sensible precaution where practical, as replacing one after tiling is difficult.
Electric underfloor heating must be connected and tested by a suitably qualified electrician. Resistance readings should be recorded before installation, after the mat or cable is laid, and again after tiling. If damage occurs during the work, early testing makes it far easier to identify and resolve.
For a water-based system, pressure testing should be completed before and during the screed or tile installation process, in line with the system specification. Pipe layout drawings and photographs taken before covering the floor are worth keeping. They provide a useful record if future alterations are planned.
Do not rush curing or first commissioning
The temptation to switch on a new warm floor immediately is understandable, especially in a newly finished bathroom. It is also one of the most avoidable mistakes. Adhesive, grout, screed and levelling compounds need their full curing period before heat is introduced. The required waiting time varies by product, so follow the technical data rather than relying on a general rule.
When the system is ready to commission, increase the temperature gradually over several days. This gives the floor build-up time to adjust and reduces unnecessary stress on the tiled finish. A programmable thermostat with a floor probe provides better control than simply running the heating at a high setting whenever the room feels cold.
In bathrooms, underfloor heating is excellent for taking the chill off tiles and helping the floor dry after use. It may not be enough to heat a large or poorly insulated room by itself. In that case, treat it as part of the room's heating plan alongside a towel rail, radiator or other suitable heat source.
A tiled heated floor is a long-term installation, so the hidden work deserves the same care as the visible finish. Choose compatible materials, prepare the base properly and allow every layer to cure. The tiles may be the part you see each day, but careful planning underneath is what keeps them looking right for years.


Comments