.png)
Bathroom Tiling Installation Guide for Lasting Results
- gheorghesircu

- 2 hours ago
- 5 min read
A bathroom can look finished the day tiles are fixed, but the quality of the work is tested over the following years. This bathroom tiling installation guide covers the decisions that protect the room from water damage, keep lines straight and produce a finish that is easy to maintain.
For a shower room, family bathroom or en suite, tiling is not simply a decorative surface. It is part of the wet-area system. Tile choice, substrate preparation, tanking, adhesive coverage and movement joints all affect whether the installation remains sound.
Start with the Bathroom Layout and Tile Choice
Choose tiles after establishing the room layout, not before. Measure every wall and floor, including recesses, boxed pipework, window reveals, niches and door thresholds. Check where sanitaryware, shower screens, brassware and mirrors will sit. These details determine the visible tile cuts.
Set out the main walls from the most noticeable points, often the centre of a vanity unit, shower wall or feature wall. Avoid narrow slivers at the edge of a wall where possible. A balanced layout with equal-sized cuts at both ends usually looks more deliberate than starting with a full tile in one corner.
Large-format porcelain can make a bathroom feel calmer and more spacious, with fewer grout lines to clean. It also demands a flatter background and careful handling. Smaller tiles work well on shower floors, around curves and where extra grip is needed, but their additional grout lines require more cleaning. Natural stone can give a premium result, though it needs the correct sealing and ongoing care. For most busy bathrooms, quality porcelain offers a practical balance of durability, water resistance and choice of finish.
On floors, do not choose by appearance alone. A polished tile may be suitable for a low-traffic bathroom floor but can be less forgiving when wet. Matt, structured or slip-rated finishes are often a better choice near showers, baths and entrances.
Bathroom Tiling Installation Guide: Check the Background First
Tiles cannot correct a poor wall or floor. Before any adhesive is mixed, the background must be clean, stable, flat and suitable for a wet environment. Remove loose paint, wallpaper, old adhesive, dust and surface contamination. Plaster that is soft, damaged or not designed for wet use should be addressed rather than tiled over.
Cement boards or suitable tile backer boards are commonly used in shower areas because they provide a stable, moisture-resistant base. Standard plasterboard is not the right choice inside a shower enclosure unless a system specifically permits it and it is fully prepared. The correct approach depends on the existing construction, but the objective is the same: a rigid surface that will not deteriorate when exposed to moisture.
Floors need equal attention. Timber floors may require strengthening and an appropriate tile backer system to limit movement. A solid screed floor may need levelling before large tiles are installed. Tiling over an uneven surface leads to lipping, hollow spots and inconsistent joints. It is quicker to fix the background properly than to attempt to compensate with excessive adhesive.
Waterproof the Wet Areas Properly
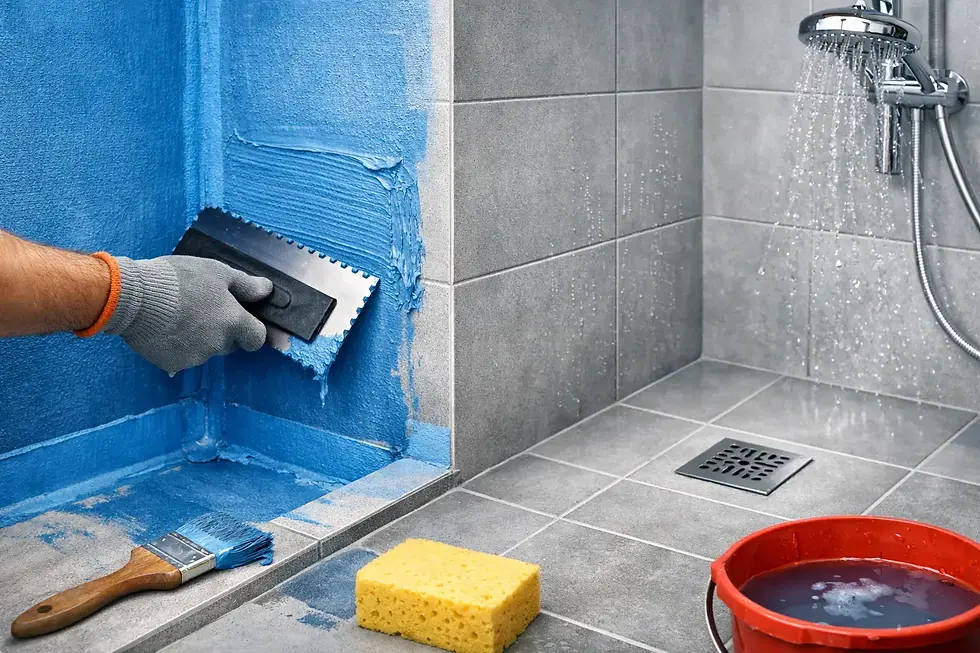
Grout and silicone are not waterproofing. They are finishing materials, and both require maintenance over time. In shower enclosures, around baths with showers above them, and in other regularly wet areas, a tanking system should be applied behind the tiles.
A typical system uses a waterproof membrane or coating, with reinforcing tape at internal corners, board joints, pipe penetrations and changes of plane. The membrane must be continuous and allowed to cure as specified before tiling begins. Particular care is needed around shower valves, outlets, niches and the wall-to-floor junction, where water is most likely to find a weakness.
A bathroom does not always need every wall tanked. The extent depends on the room design, ventilation and wet zones. However, reducing waterproofing to save time or cost is a poor trade-off in a shower area. Repairing hidden water damage later can mean removing tiles, boards and fixtures that were otherwise in good condition.
Use the Correct Adhesive and Fixing Method
Adhesive should match the tile type, tile size, background and location. Porcelain usually requires a flexible cement-based adhesive. Large wall tiles and floor tiles often need a deformable adhesive that can accommodate slight movement in the substrate. Ready-mixed adhesive has limited uses and is generally not the right product for porcelain, large format tiles or permanently wet shower areas.
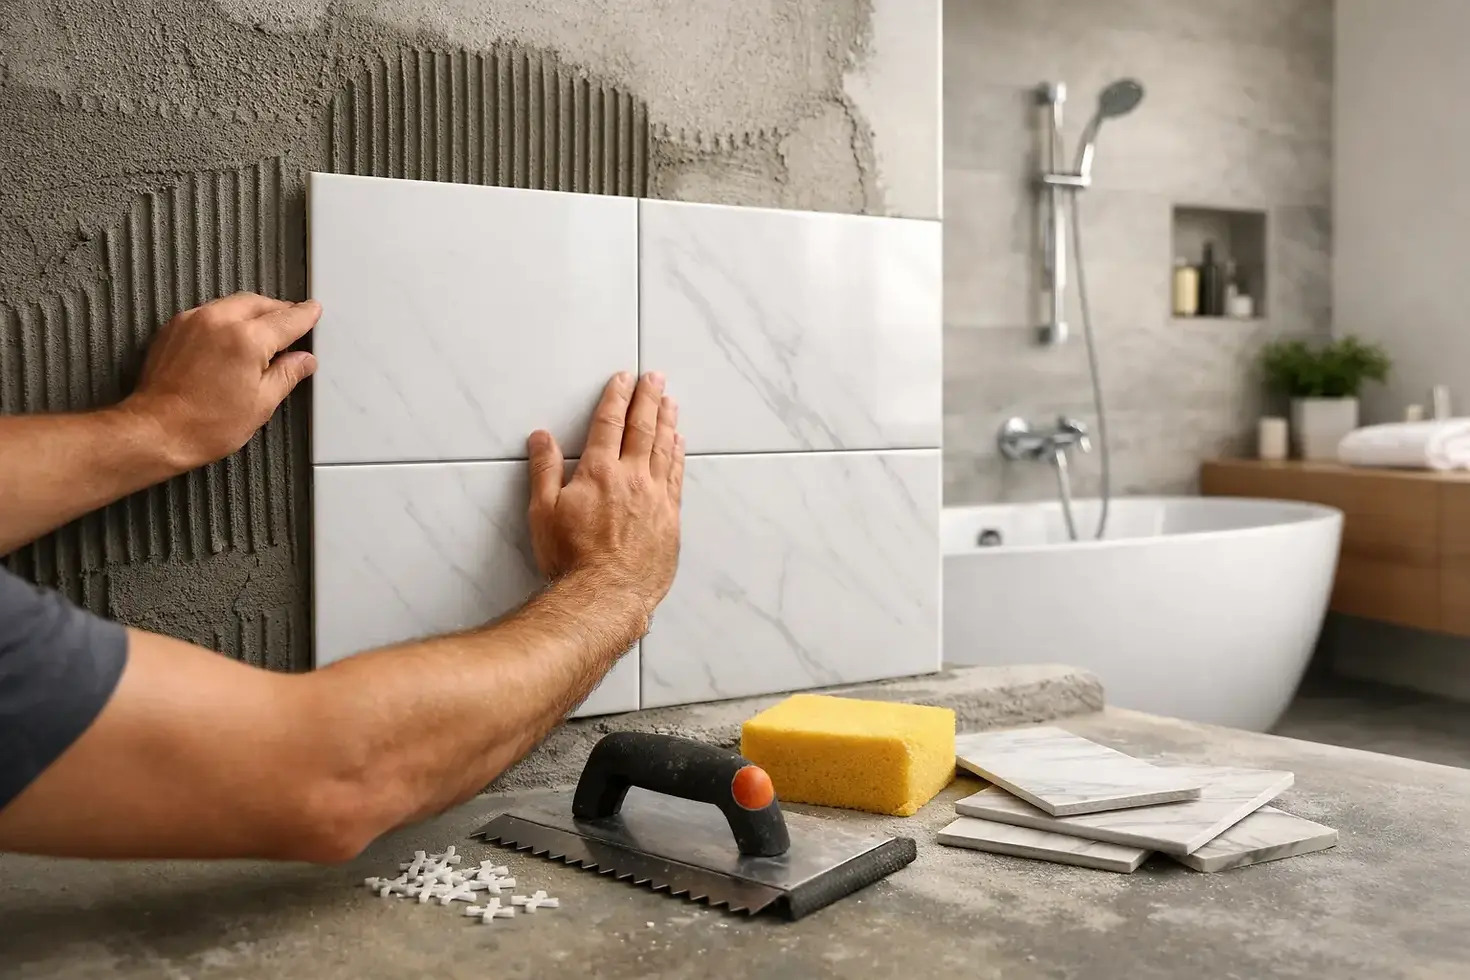
The trowel notch size matters because the aim is full, even support behind each tile. Larger tiles require more adhesive coverage, often with adhesive applied both to the background and lightly to the back of the tile. This is known as back-buttering. It reduces voids that can cause cracking, poor bonding or water collection behind the tile.
Do not use adhesive to level a wall or floor beyond the product manufacturer's stated limits. Build up low areas with the right levelling or preparation product first. Work in manageable sections so the adhesive does not form a skin before tiles are pressed into place.
Spacers and levelling clips can help keep joints consistent, especially with larger tiles, but they do not replace accurate setting out and a flat substrate. Check each section with a straightedge as the work progresses. A clean face is easier to maintain than trying to correct dried adhesive from tile edges later.
Allow for Movement, Falls and Finishing Details
Bathrooms experience moisture, temperature changes and small movements in the building. Internal corners, wall-to-floor junctions and changes between different materials should not be rigidly grouted. These areas need a suitable sanitary silicone sealant, applied to clean, dry surfaces after grouting has cured.
Where a tiled floor meets a shower drain, the floor must fall correctly towards the waste. The required fall should be formed in the substrate or shower former before tiling, not created by uneven adhesive beneath the tiles. Mosaic or smaller-format tiles are often the practical choice on a wet-room floor because they follow the fall more easily and provide more grip through the grout joints.
Plan trim details early. External corners, tile edges around windows, niches and boxed sections need a neat finish. Tile trim can provide a crisp, durable edge, while mitred porcelain corners create a more minimal look but require precise cutting and are more vulnerable to impact. The right option depends on the tile, the room style and how exposed the edge will be.
Grout, Sealant and Cleaning After Installation
Grout only once the adhesive has cured fully. Use a grout appropriate for the joint width and setting, and make sure joints are free from excess adhesive before application. A flexible, mould-resistant grout is normally the sensible option for a bathroom. Keep grout colour practical: very pale grout can look sharp initially but may show staining more readily in a busy household.
Once grouting is complete and cured, seal all internal corners and sanitaryware junctions with a bathroom-grade silicone. Apply a consistent bead and tool it neatly. Silicone is a maintenance item, not a permanent fix. If it becomes mouldy, split or detached, remove it completely and replace it rather than applying a new bead over the top.
Avoid aggressive cleaning chemicals and abrasive pads, particularly on natural stone, polished surfaces and coloured grout. Regular cleaning with a suitable pH-neutral product, followed by good ventilation, will protect the finish better than occasional heavy scrubbing. Run an extractor fan during showers and for a period afterwards to reduce condensation.
When Professional Installation Makes Sense
A straightforward splash zone can be manageable for an experienced DIY installer. A shower enclosure, wet room, large-format porcelain floor or bathroom with uneven backgrounds is a different level of work. The visible finish matters, but the concealed preparation matters more.
For homeowners and property clients in London and the surrounding area, a specialist tiler can assess the substrate, specify a suitable system and set out the installation before materials are ordered. That avoids common problems such as insufficient tile quantities, unsuitable adhesives, awkward cuts and unplanned trim details.
The best bathroom tilework is rarely the result of a shortcut. Give the preparation, waterproofing and layout the same attention as the tile design, and the finished room will continue to look right long after the grout has cured.


Comments