.png)

Large Format Bathroom Tiles for Modern Bathrooms
- gheorghesircu

- 2 days ago
- 6 min read
A bathroom can look expensive or poorly finished before the grout has even cured. With large format bathroom tiles, the difference usually comes down to planning, surface preparation and accurate fitting. Fewer grout joints create a calmer, more continuous look, but larger tiles leave far less room to hide uneven walls, poor falls or careless cuts.
For homeowners and landlords upgrading a bathroom, large format tiles can be an excellent choice. They suit contemporary schemes, work well in compact rooms as well as larger spaces, and can carry the same finish from floor to shower walls. The right result depends on choosing a tile size that suits the room and using an installer who understands the technical work behind the clean finish.
Why large format bathroom tiles are popular
Large format tiles generally start around 600 x 600mm, with popular wall and floor choices including 600 x 1200mm, 750 x 750mm and 1200 x 1200mm. Porcelain is commonly used because it is hard-wearing, low-absorption and available in stone, concrete, marble and plain finishes.
Their main visual advantage is simple: fewer joints. A wall tiled in 600 x 1200mm porcelain has a more open appearance than the same wall covered in small tiles. This can make a narrow en-suite feel less busy, while in a family bathroom it provides a neat backdrop for brassware, vanity units and shower glass.
Less grout can also mean less routine cleaning. That does not make a tiled bathroom maintenance-free, particularly around showers and corners, but it reduces the number of grout lines where soap residue and moisture can collect. For rental properties, this practical benefit can be as useful as the appearance.
There is a trade-off. Large tiles are heavier, less forgiving and more difficult to manoeuvre in confined rooms. They need a properly prepared background, suitable adhesive coverage and a layout designed around the room rather than forced onto it.
Size should suit the bathroom, not just the showroom
A common concern is that large tiles only work in large bathrooms. In practice, a 600 x 1200mm tile can look very effective in a modest London bathroom if the layout is considered properly. The issue is not simply room size. It is the number of awkward cuts, the position of doors and windows, wall widths, niches, and where the eye naturally lands when entering the room.
On a wide, uninterrupted wall, larger tiles can create a strong, calm feature. On a wall broken up by a window, boxing, a toilet frame and several fittings, an oversized tile may produce too many narrow strips. Those cuts can make the room look more fragmented than a slightly smaller format would.
Before ordering tiles, measure the actual tiled areas rather than relying only on the bathroom floor plan. Check the finished dimensions after boarding, waterproofing and any wall correction work. A few millimetres can affect whether a tile centre line works, whether cuts match at opposite ends, and whether a patterned tile aligns as intended.
Plan the focal wall first
In most bathrooms, the shower back wall or the wall behind the basin is the first surface people notice. Starting the layout from this focal point often gives the best result. Full or balanced cuts around a niche, shower valve and basin can make the installation feel deliberate rather than improvised.
A full tile at floor level is not always the right choice. Depending on the room, it may be better to balance cuts at the top and bottom, or place a cut where it will be concealed by a vanity unit. Good layout is about what will be seen every day, not following a fixed rule.
The substrate matters more with large tiles
Large format tiling is not a job for uneven plaster, loose floorboards or a wall that has not been checked for flatness. A tile can bridge a small low spot, but it cannot correct a poor background. Trying to pull it flat with adhesive can lead to weak coverage, lipping between tile edges and an uneven finished surface.
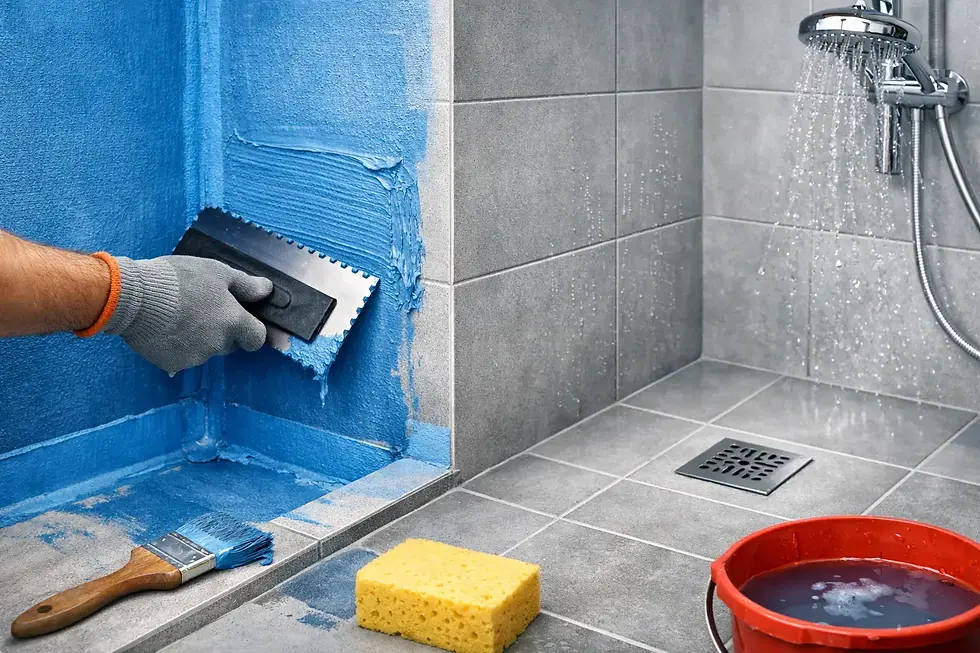
Walls may need correcting, boarding or tanking before tiling starts. In shower areas, waterproofing should be treated as part of the system, not an optional extra. Tiles and grout are not the waterproof layer. A correctly prepared wet area protects the structure behind the finish if water gets through grout joints, service penetrations or silicone over time.
Floors need the same attention. Timber floors may require strengthening and an appropriate tile backer board or uncoupling system. Concrete floors should be sound, clean and suitably level. If underfloor heating is planned, the floor build-up and movement requirements need to be considered before tile selection and installation.
For large porcelain tiles, full or near-full adhesive contact is particularly important. Voids underneath can leave areas vulnerable to cracking under point loads and can create problems in wet rooms. The right adhesive, trowel size and fixing method are determined by the tile, background and application.
Large format bathroom tiles on shower floors
Wall tiles and floor tiles should not automatically be the same size. Large tiles on a level bathroom floor can look excellent, especially where a walk-in shower is separated by fixed glass. Inside a shower tray area or a tiled wet-room former, however, the falls to the drain change the decision.
A very large tile cannot easily follow falls in more than one direction without cuts. Smaller tiles, mosaics or purpose-cut pieces are often the more practical option for the shower floor because they conform to the slope and provide more grout joints for grip. This is not a compromise in quality. It is good technical design.
If a matching large-format look is wanted, a linear drain can sometimes allow tiles to fall in one direction. The precise drainage arrangement, tile thickness and shower dimensions should be confirmed before the installation is set out. It is far easier to plan this at the start than alter it after tiles have been purchased.
Finish, grout and slip resistance
The tile surface affects both appearance and daily use. Polished porcelain reflects light and can make a bathroom feel brighter, but water marks and smears may show more readily. A matt or honed-look porcelain is often easier to live with and gives a more understated finish. Textured tiles can offer improved grip but may take more effort to clean if the texture is deep.
For bathroom floors, check the tile's slip resistance and think about how the room will be used. A family bathroom, a ground-floor shower room and a lightly used en-suite do not always need the same finish. The safest choice is not always the roughest tile, but the surface should be suitable for regular wet barefoot use.
Grout should support the design rather than compete with it. A close colour gives a quieter, more monolithic effect. A contrasting grout will highlight every tile line and any variation in the layout. With large tiles, narrow joints are common, but they still need to allow for tile tolerances and movement. Do not assume tiles described as rectified can be fitted with no joint at all.
Silicone joints at corners, changes of plane and around sanitaryware are equally important. These locations move differently from tiled fields and should not be rigidly grouted. Neat colour-matched silicone is a small detail that has a major effect on the finished bathroom.
What to confirm before fitting begins
A successful installation starts before the first tile is fixed. The following checks prevent many avoidable problems:
Confirm the tile batch, quantities and any directional markings before work starts.
Agree the layout, focal points and position of cuts around niches, windows and fittings.
Check that walls and floors are flat, stable and suitable for the chosen tile size.
Finalise shower drainage, falls, waterproofing and tile trims before setting out.
Allow for access, handling and safe cutting, particularly with 1200mm and larger tiles.
It is also sensible to order an allowance for cuts, breakages and future repairs. The required percentage depends on the room shape, tile size and layout. A simple rectangular room needs less than a bathroom with niches, boxed pipework and multiple returns.
A finish that rewards careful work
Large format bathroom tiles are not difficult because they are fashionable. They are demanding because their scale exposes every decision behind them. When the background is prepared properly, the drainage is planned and the layout is set out with care, they deliver a clean, durable bathroom finish that remains easy to live with.
For bathroom renovations in London, Essex, Romford and surrounding areas, GMSUK Tiling Expert Ltd can assess the room, substrate and tile choice before fitting begins. Bring the tile dimensions, bathroom measurements and any design references to the first discussion. A practical check at that stage can save expensive changes later.


Comments